
In the second part of the “Your Own FreeBSD Server” series, we’ll install the Nginx web server for users who prefer Nginx over Apache.
1. Logging in to the server
You can access the remote server machine with the command:
ssh root@111.222.33.44
where:
– ssh (secure shell) is a standard communication protocol
– root is the system administrator’s username
– 111.222.33.44 is the IP address of your server assigned by your ISP
Connection requires the root password, also provided by your ISP (the password can be changed after the first login).
2. Installing the Nginx web server
pkg update
pkg upgrade
pkg install nginx
To enable Nginx to run as a service during system boot, add the following line to the file:
nano /etc/rc.conf
the following line:
sysrc nginx_enable=YES
To start the Nginx service, use the command:
service nginx start
nginx_enable: -> YES
nginx_enable: YES -> YES
Performing a sanity check on the nginx configuration:
nginx: the configuration file /usr/local/etc/nginx/nginx.conf syntax is ok
nginx: configuration file /usr/local/etc/nginx/nginx.conf test is successful
Starting nginx.
To check if the Nginx server is running, run the following command:
service nginx status
nginx_enable: YES -> YES
nginx_enable: YES -> YES
nginx is running as pid 1804.
The Nginx homepage should now be available in your web browser at your server’s IP address. If the domain has already been propagated, you can enter the domain address in your browser instead of the IP address. By default, information about the Nginx server is displayed.
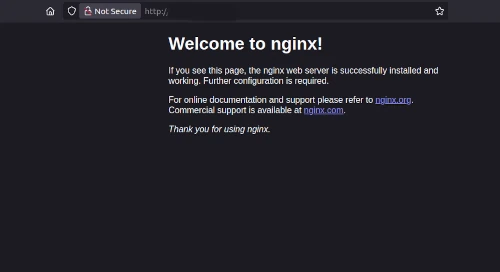
The homepage files have been saved in the default location:
/usr/local/www/nginx/index.html
This is the default configuration for a single domain; now we’ll create a custom configuration for one or more domains or subdomains.
The default Nginx configuration is available in the directory:
/usr/local/etc/nginx/
Now we’ll add our own domain by making a copy of the existing configuration:
cp /usr/local/etc/nginx/nginx.conf /usr/local/etc/nginx/nginx.conf.bak
nano /usr/local/etc/nginx/nginx.conf
and adding/changing our own configuration, e.g.:
location / {
root /usr/local/www/mydomain;
index index.html index.htm index.php; }
Create the shared resource path, according to the configuration above:
mkdir -p /usr/local/www/mydomain
Add a sample test page:
nano /usr/local/www/mydomain/index.html
<html>
<head>
<title>New VirtualHost page</title>
</head>
<body>
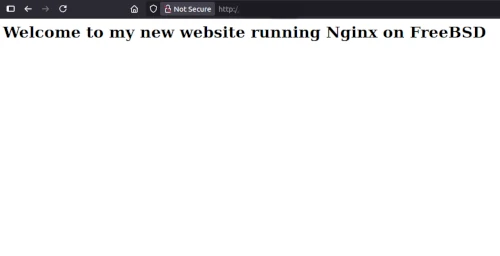
<h1>Welcome to my new website running Nginx on FreeBSD</h1>
</body>
</html>
Then restart the Nginx service:
service nginx restart
nginx_enable: YES -> YES
nginx_enable: YES -> YES
Performing a sanity check on the nginx configuration:
nginx: the configuration file /usr/local/etc/nginx/nginx.conf syntax is ok
nginx: configuration file /usr/local/etc/nginx/nginx.conf test is successful
Stopping nginx.
Waiting for PIDS: 1804.
Performing a sanity check on nginx configuration:
nginx: the configuration file /usr/local/etc/nginx/nginx.conf syntax is ok
nginx: configuration file /usr/local/etc/nginx/nginx.conf test is successful
Starting nginx.
The new website has been loaded with the new configuration and is working correctly.
In part 3 of this series, we will install PHP and the MariaDB database system.