
This article is the first in a series introducing the concept of building your own server running the FreeBSD operating system.
What is FreeBSD?
FreeBSD is a Posix-compliant Unix operating system from the BSD family. FreeBSD is based on 4.4BSD Lite2, which was developed by the Computer Systems Research Group (CSRG) at the University of California, Berkeley. FreeBSD is a free operating system with full source code access. FreeBSD uses a ports system, and its repositories contain approximately 30,000 pre-prepared packages.
Why FreeBSD?
FreeBSD is a Unix-like system from the BSD family. It may be less popular than Linux systems, but it offers its own kernel and an entire ecosystem overseen and supported by the FreeBSD development team. Due to its performance and reliability, it is often used as a web server or firewall. FreeBSD is used by Apache.org, Netflix, FlightAware, Yahoo!, Yandex, Netcraft, Sony Playstation 4, WhatsApp, and others. Due to its liberal license, fragments of its code have found their way into projects such as Microsoft Windows, Apple OS X, and OS X Server, which were based on the XNU microkernel and solutions derived from FreeBSD and NetBSD.
This guide is based on FreeBSD 14.x.
How to check the FreeBSD version?
freebsd-version
14.0-RELEASE
1. Domain
Register a domain name and redirect it with your server provider to your server running FreeBSD. The process of propagating your domain’s new DNS addresses, after redirection or registration, can take from several minutes to 72 hours.
During this time, you can configure your web server.
2. Logging in to the server
After registering an account with your server provider and paying the first invoice, you will receive access details for your VPS (or dedicated) server by email. System management and settings are handled via a terminal emulator/text console, where mastering basic commands shouldn’t pose a problem for anyone.
You can access the remote server machine with the following command:
ssh root@111.222.33.44
where:
– ssh (secure shell) is a standard communication protocol
– root is the system administrator’s username
– 111.222.33.44 is the IP address of your server assigned by your ISP
Connection requires the root password, also provided by your ISP (the password can be changed after the first login).
3. Installing the Web Server
FAMP, which stands for FreeBSD, Apache, MySQL, and PHP, is a variant of LAMP (Linux, Apache, MySQL, and PHP).
First, we’ll install the Apache web server.
pkg update
pkg upgrade
pkg search apache
pkg install apache24
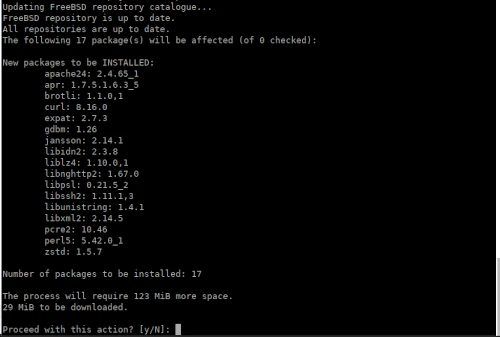
I also installed nano, my favorite and easy-to-use console text editor:
pkg install nano
To enable Apache to start as a service at system startup, add the following line:
sysrc apache24_enable=”YES”
to the file:
nano /etc/rc.conf
To start the Apache web service, use the command:
service apache24 start
apache24_enable: -> YES
apache24_enable: YES -> YES
Performing sanity check on apache24 configuration:
Syntax OK
Starting apache24.
To check if Apache is running, run the following command:
service apache24 status
apache24_enable: YES -> YES
apache24_enable: YES -> YES
apache24 is running as pid 16072.
The Apache homepage should now be available in your web browser at your server’s IP address. If the domain has already been propagated, you can enter the domain address in your browser instead of the IP address.

The homepage files have been saved in the default location:
/usr/local/www/apache24/data/
This is the default configuration for a single domain; now we’ll create a custom configuration for one or more domains or subdomains.
The default Apache configuration is available in the directory:
/usr/local/etc/apache24/
Now we’ll add our own domain by making a copy of the existing configuration:
cp /usr/local/etc/apache24/httpd.conf /usr/local/etc/apache24/httpd.conf.bak
nano /usr/local/etc/apache24/httpd.conf
and adding our own configuration, e.g.:
ServerAdmin pavroo@linuxiarze.pl
ServerName linuxiarze.pl:80
DocumentRoot “/usr/local/www/apache24/mydomain”
<Directory “/usr/local/www/apache24/mydomain”>
…
</Directory>
<IfModule dir_module>
DirectoryIndex index.html index.php
</IfModule>
Create the path for shared resources, according to the configuration above:
mkdir -p /usr/local/www/apache24/mydomain
Adding a sample test page:
nano /usr/local/www/apache24/mydomain/index.html
<html>
<head>
<title>New VirtualHost page</title>
</head>
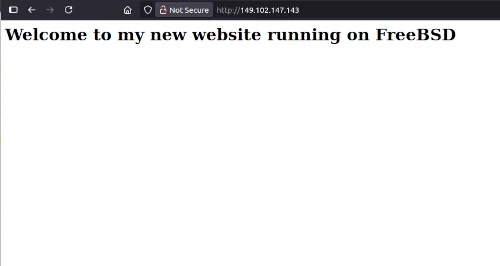
<body>
<h1>Welcome to my new website running on FreeBSD</h1>
</body>
</html>
Then restart the Apache service:
service apache24 restart
apache24_enable: YES -> YES
apache24_enable: YES -> YES
Performing sanity check on apache24 configuration:
Syntax OK
Stopping apache24.
Waiting for PIDS: 16072.
Performing sanity check on apache24 configuration:
Syntax OK
Starting apache24.
The website has been loaded with the new configuration and is working correctly.
And that’s all for today’s information on how to run the Apache server on FreeBSD.
In the next article – part 2, we’ll install the Nginx web server instead of Apache.